Note
Go to the end to download the full example code
Figure size in different units#
The native figure size unit in Matplotlib is inches, deriving from print industry standards. However, users may need to specify their figures in other units like centimeters or pixels. This example illustrates how to do this efficiently.
import matplotlib.pyplot as plt

text_kwargs = dict(ha='center', va='center', fontsize=28, color='C1')
Figure size in inches (default)#
plt.subplots(figsize=(6, 2))
plt.text(0.5, 0.5, '6 inches x 2 inches', **text_kwargs)
plt.show()

Figure size in centimeter#
Multiplying centimeter-based numbers with a conversion factor from cm to
inches, gives the right numbers. Naming the conversion factor cm makes
the conversion almost look like appending a unit to the number, which is
nicely readable.
cm = 1/2.54  # centimeters in inches
plt.subplots(figsize=(15*cm, 5*cm))
plt.text(0.5, 0.5, '15cm x 5cm', **text_kwargs)
plt.show()

Figure size in pixel#
Similarly, one can use a conversion from pixels.
Note that you could break this if you use savefig with a
different explicit dpi value.
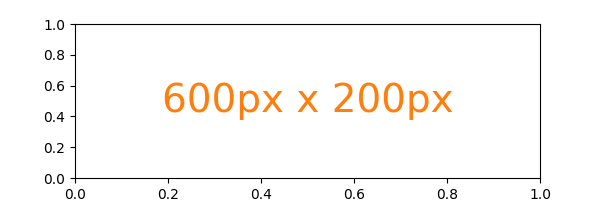
px = 1/plt.rcParams['figure.dpi']  # pixel in inches
plt.subplots(figsize=(600*px, 200*px))
plt.text(0.5, 0.5, '600px x 200px', **text_kwargs)
plt.show()

Quick interactive work is usually rendered to the screen, making pixels a good size of unit. But defining the conversion factor may feel a little tedious for quick iterations.
Because of the default rcParams['figure.dpi'] = 100, one can mentally
divide the needed pixel value by 100 [1]:
plt.subplots(figsize=(6, 2))
plt.text(0.5, 0.5, '600px x 200px', **text_kwargs)
plt.show()

References
The use of the following functions, methods, classes and modules is shown in this example: